How To Relocate S13 Wiring Loom
Are you having electrical issues with your S13? Then you need to relocate your wiring loom! Here is the step-by-step guide on how to do it.
The other week we showed you the damage done to Joe’s loom but we didn’t really show you the process of moving it, so below is going to be a rough how-to. This is only for information purposes and shouldn’t be attempted if you aren’t confident about it!
Suitable applications for this guide:
- – Nissan 180sx (jdm s13)
- – Nissan 200sx (s13)
- – Nissan 240sx (usdm possible)
Disclaimer
Please note that following this guide is entirely at your own risk. The 180sx Club is not responsible for any personal injury to you or to a third party and neither is it responsible for any damage done to your vehicle while attempting to follow this guide. The 180sx Club provide these workshop guides for experienced mechanics to use, if you are not confident that you have the correct skills then please take your vehicle to your favourite professional garage to complete the work.
I had decided to check my loom after seeing Joe’s and as mine is going into the bodyshop tomorrow I wanted to relocate it before the kit is put on and it is lowered more.
First things first, crack the drivers side wheel nuts before you start jacking it, otherwise you’ll kick your self when the wheel spins freely 😉
Next jack the car up, I chose to use the subframe just behind the sump as the jacking point. Once the car is off the ground get some axel stands under it, and leave the jack in place for extra security. NEVER work under a car that isn’t properly held up.
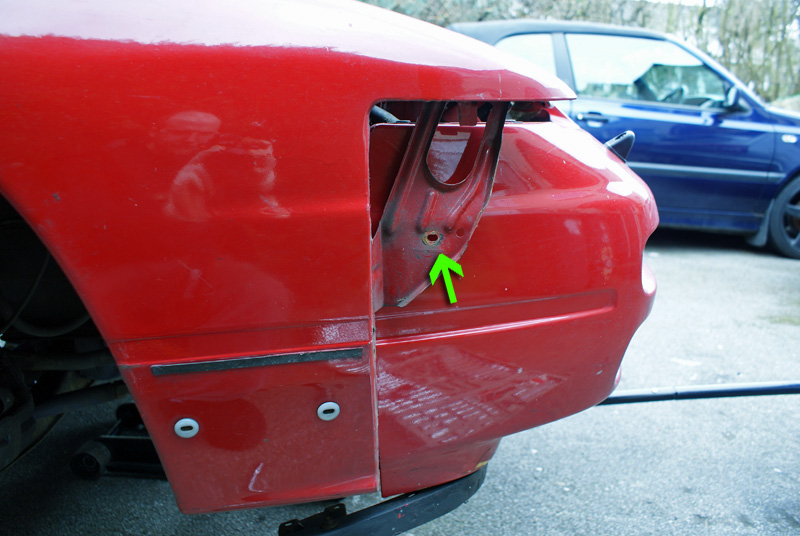
Below is a picture of the rough location of the bolts you will have to undo (should all be 10mm), the observant of you will notice this is actually the passenger side wing. That’s because I didn’t think about taking photos until the drivers side wing was off!!
Remove the wheel so you have easy access to the arch and the bumper bolts etc. I should of course at this point mention that I already have my arch liners removed. However if you are still running arch liners you probably won’t have this problem 😉
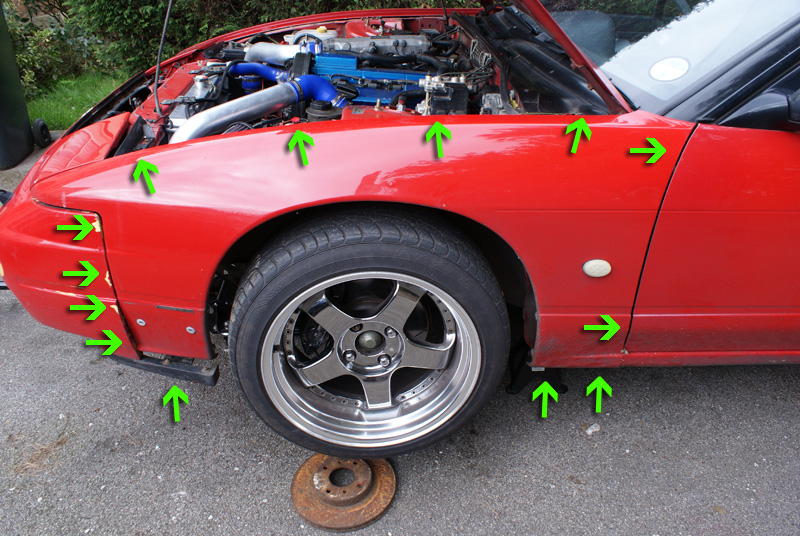
Having had my front bumper off a few times there where less bolts than pictured, but I think that’s about right for a standard one, below is a pic from along the top of the arch. You may notice there are only 3 arrows here, on the drivers side however there are 4, as there is an extra one for a clip that holds the washer bottle filler neck in place:
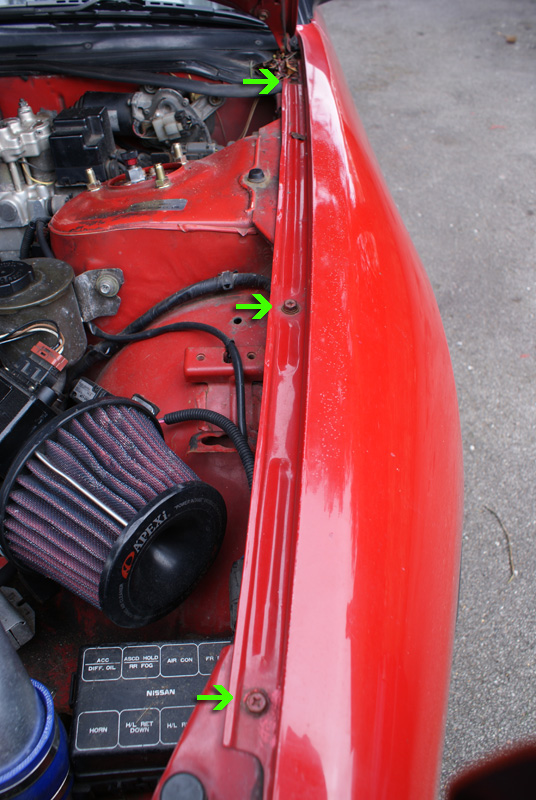
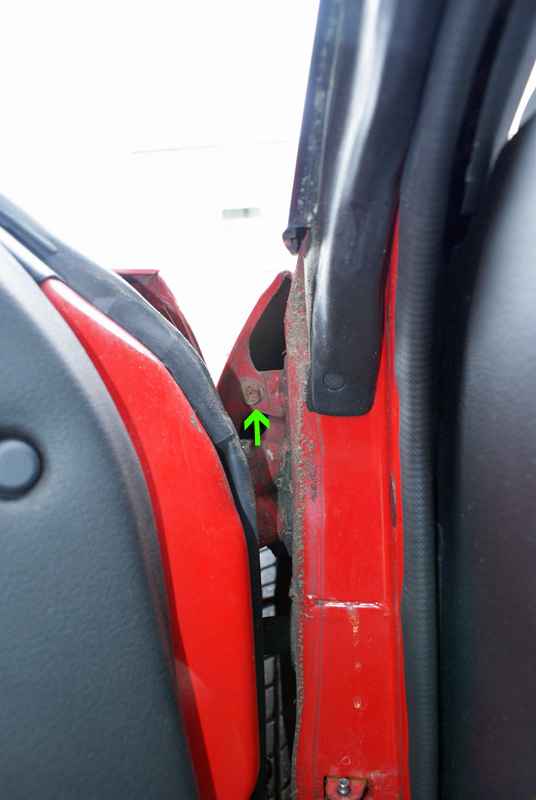
The top bolt nearest the door has to be accessed with the door open, as you will see from the pic below:
The second of the bolts on the door side is accessed from inside the arch, you should be able to reach this with an extender on your sockets:
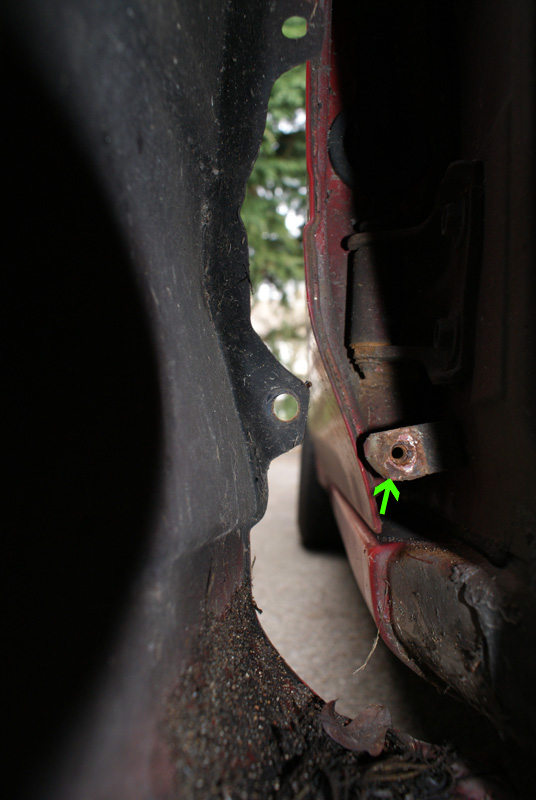
There is one bolt I haven’t arrowed on the first picture, this is a bit of a tricky one that requires you to pull the bumper out slightly to reach it, it is pictured below with the bracket on the outside of the bumper to give you an idea of where it is located:
If your sill is anything like mine was for the bottom two bolts you may need to get a pair of mole grips and straighten it out so you can access the bolts and undo them!!
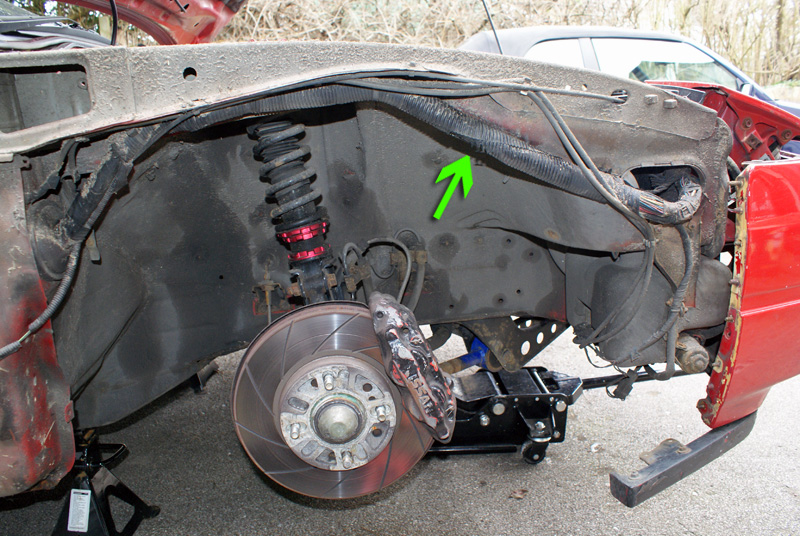
Once all the bolts are out the wing should move pretty freely, you have to pull the bumper away to get the front bracket out and generally jiggle it until it is free (be careful of your paint 😉 ). When it is off you will see the standard route of the loom.
The arrow below indicates where it was rubbing on mine, luckily it had only slightly caught two wires. I decided to repair one of them, and wrap the other back up:
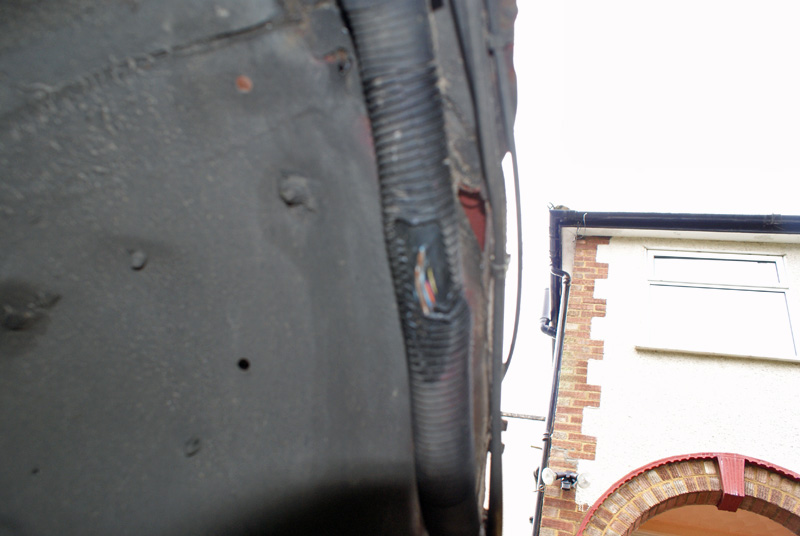
Nice blurry pic of the damage:
The loom is relocated higher up in the arch, and I also added a second zip tie to hold the back a little higher up also:

A picture of the relocation we did on Joe’s, no doubt I’ll regret not going higher than above!!! But you can see the different exit positions of the loom from the bulk head between the two cars.

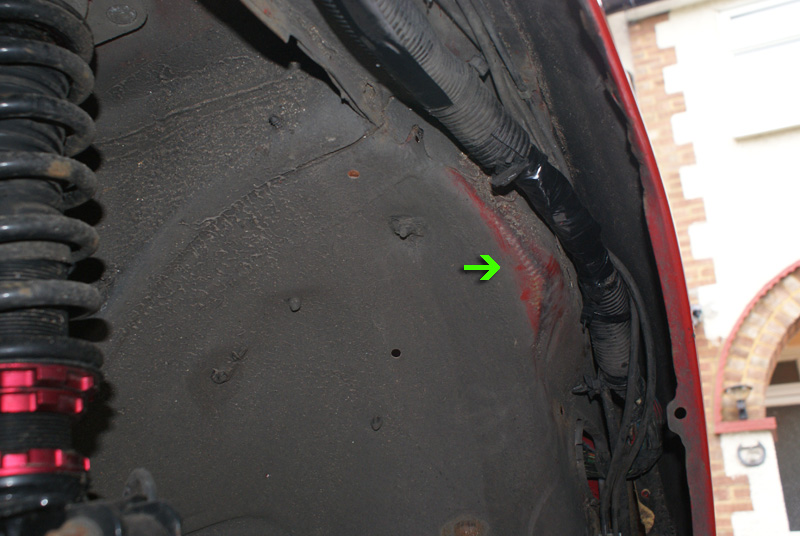
Here you can see the difference in its original position, and where it had rubbed against the arch:
And that’s pretty much it. Put the wing back on and be happy in the knowledge your loom is safe(r)!
If your car is seriously low with wide wheels, you may still encounter rubbing and have to relocate the loom through the engine bay. But that is for another post!